- May 27, 2025
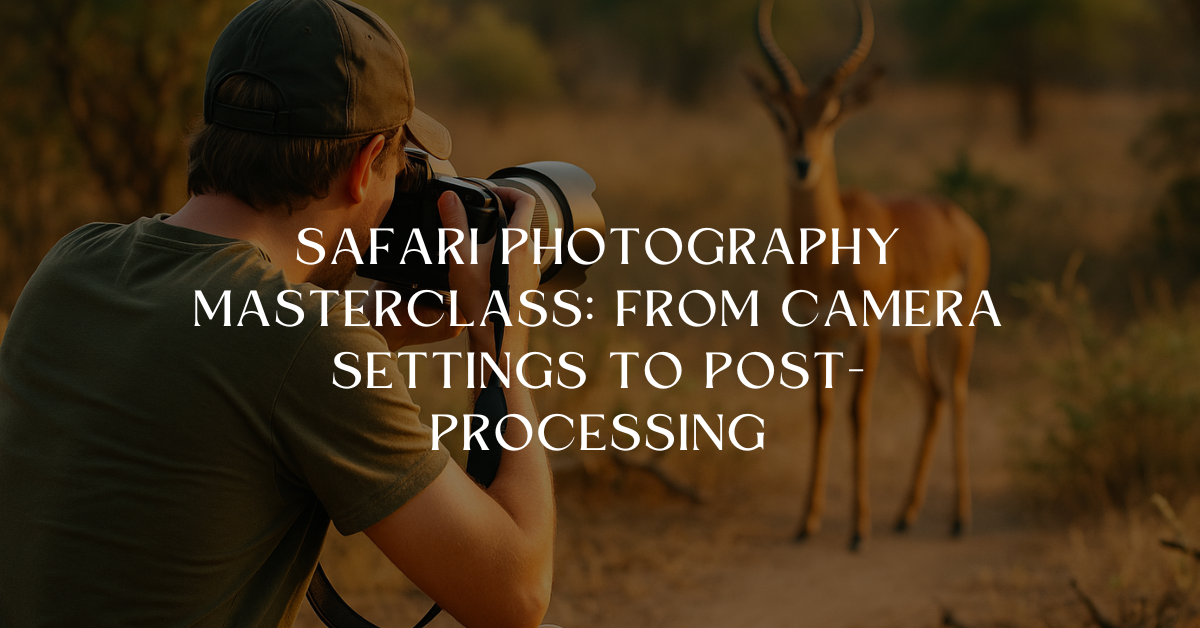
Safari Photography Masterclass: From Camera Settings to Post-Processing
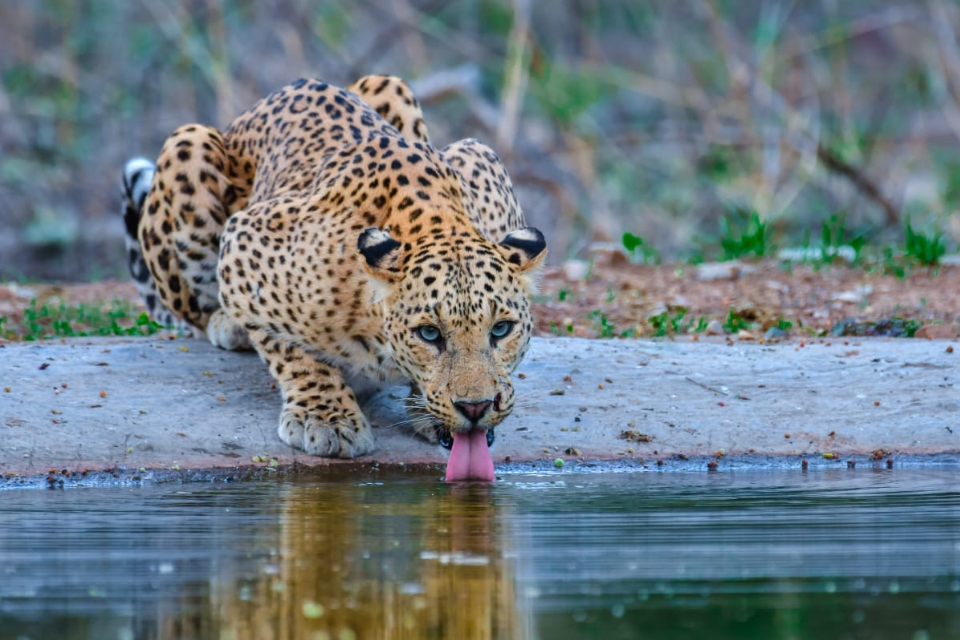
Capturing the raw beauty of wildlife on safari—whether it’s a stealthy leopard’s pounce or a flock of cranes taking flight—takes more than just a good camera. It requires a blend of technical know-how, patient observation, ethical mindfulness, and creative storytelling. In this Safari Photography Masterclass, we’ll guide you through every step: from choosing the right gear and planning your shoot to mastering in-field techniques and refining your images in post-production. Whether you’re shooting in Jhalana, Ranthambore, or beyond, these expert tips will help you elevate your wildlife photography in Rajasthan.
- Essential Gear & Equipment
Investing in quality equipment tailored for safari photography lays the foundation for stunning shots. Here’s a breakdown of must-have gear:
Category | Recommendation | Why It Matters |
Camera Body | DSLR or mirrorless (e.g., Canon R5, Nikon Z 9) | Fast autofocus, high burst rates, good low-light performance |
Telephoto Lens | 100-400 mm or 150-600 mm f/4.5-6.3 | Reach distant subjects without disturbing wildlife |
Wide-Angle Lens | 16-35 mm f/4 or similar | Contextual habitat and landscape storytelling |
Tripod/Monopod | Carbon-fiber monopod with quick-release clamp | Stabilizes heavy lenses; monopod for mobility |
Teleconverter | 1.4× or 2× | Extends lens reach when big cats linger at a distance |
Camera Bag | Weather-sealed backpack with modular dividers | Protects gear and allows quick access |
Filters | Circular polarizer; UV filter | Manages glare off waterholes; protects lens glass |
Memory & Power | Multiple high-speed cards; spare batteries | Avoid missed opportunities due to full cards or dead batteries |
Cleaning Kit | Blower, microfiber cloth, sensor swabs | Keeps sensor and optics dust-free in dusty environments |
SEO Keywords: safari photography masterclass, wildlife photography Rajasthan
- Pre-Safari Planning
Great photos start long before you lift the camera. Thorough preparation ensures you’re in the right place, at the right time, with the right settings.
- Research Animal Behavior: Know peak activity windows—leopards often hunt at dawn/dusk; birds take flight at midday thermals.
- Scout Locations Virtually: Study maps and previous safari reports to identify waterholes, game trails, and vantage points.
- Weather & Light: Check sunrise/sunset times and moon phases. Overcast skies can soften shadows; full moons can illuminate nocturnal scenes.
- Set Goals: Are you after action shots, portraits, or environmental context? Defining your “photo mission” focuses your efforts.
- Test Gear: Familiarize yourself with camera settings and lenses in similar conditions—try local parks or zoos to rehearse.
- In-the-Field Techniques
3.1 Dialing in Camera Settings
Wildlife moves fast—your gear must be configured to react instantly:
- Shooting Mode: Use Shutter Priority (Tv/S) for action (start at 1/1,000 s or faster). Switch to Aperture Priority (Av/A) for depth-of-field control (f/5.6–f/8).
- ISO Strategy: Keep ISO as low as possible for image quality but raise it to maintain shutter speed in low light (e.g., ISO 800–1,600 at dawn).
- Autofocus Mode: Continuous AF (AI Servo/AF-C) tracks moving subjects; use dynamic-area AF with a cluster of focus points for erratic motion.
- Drive Mode: Select high-speed burst (8–20 fps) to capture decisive moments—pounce, take-off, or roar.
- Metering: Evaluative/Matrix handles mixed light; switch to spot metering on an animal’s eye for precise exposure.
3.2 Composition & Framing
Beyond settings, how you frame a shot transforms a snapshot into a story:
- Rule of Thirds: Place your subject off-center to create dynamic tension.
- Leading Lines: Use trails, waterholes, or tree lines to draw the viewer’s gaze toward your subject.
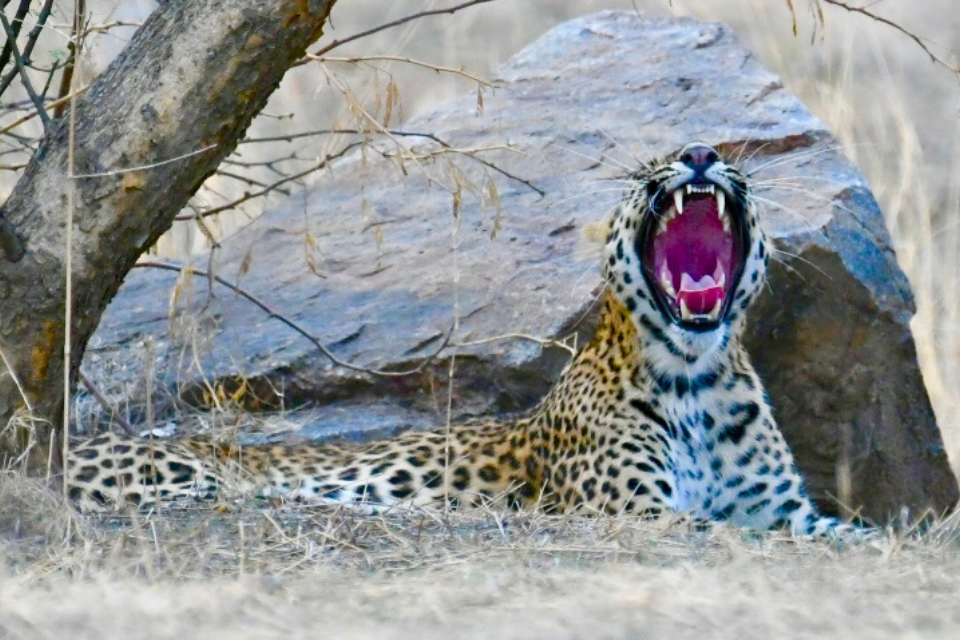
- Fill the Frame: Zoom in or crop later to minimize distractions—leopards look more dramatic when they fill half the frame.
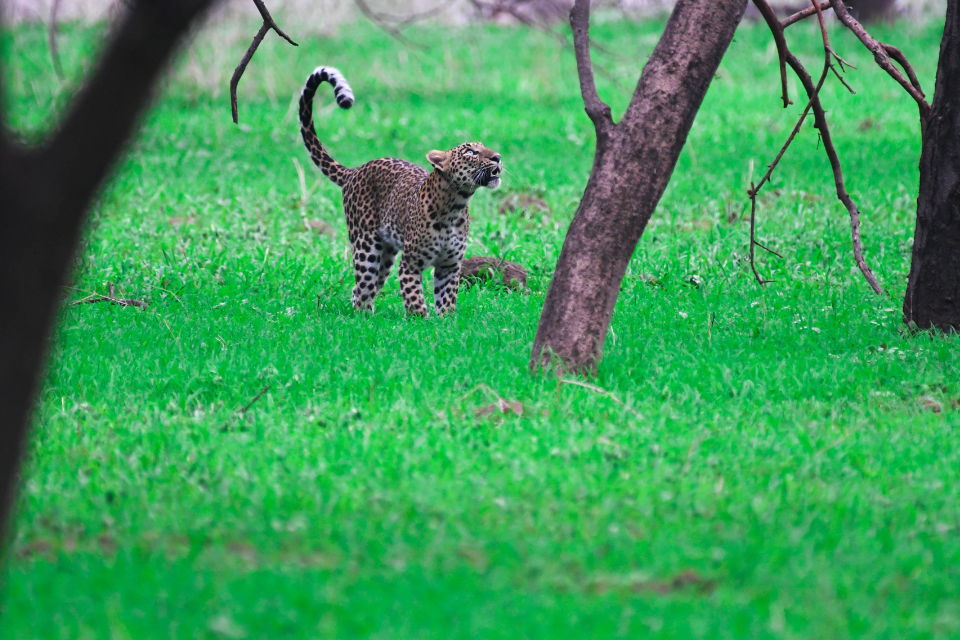
- Negative Space: Embrace empty sky or plains to convey solitude—especially effective with eagles against a vast desert sky.
- Action Direction: Leave space in front of a moving animal so it “moves into” the frame, not out of it.
Pro Tip: Switch between portrait (vertical) and landscape (horizontal) orientations for varied compositions.
3.3 Light Management
Rajasthan’s light can be harsh. Use it to your advantage:
- Golden Hours: One hour after sunrise or before sunset casts warm, angled light—ideal for glowing fur and long shadows.
- Backlighting: Position the sun behind you to illuminate dust particles, creating dramatic rays during a chase.
- Silhouettes: At sunrise, expose for the sky to silhouette tree-climbing leopards or giraffes on the horizon.
- Fill Flash/Reflectors: For under-canopy shots, a gentle fill flash can restore detail in shadowed fur, but use sparingly to avoid startling wildlife.

- Composition & Storytelling
Great wildlife photography tells a story—show relationships, behaviors, and habitat context:
- Behavioral Sequences: Capture a series—approach, stalk, pounce—for a narrative that unfolds in your gallery.
- Contextual Portraits: Include elements like termite mounds, rock outcrops, or water reflections to place animals in their world.
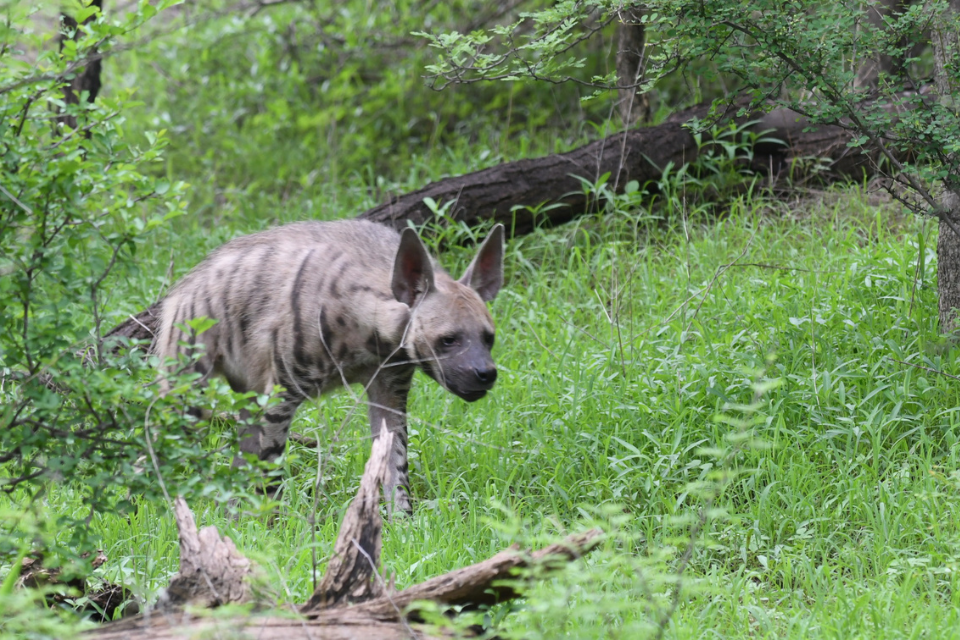
- Environmental Portraits: Photograph a lone jackal on a dawn-lit road to evoke mood and setting.
- Interaction Shots: Look for mother-cub interactions, territorial disputes, or mixed-species gatherings at waterholes.
Creative Exercise: Before shooting, envision the story you want—survival, serenity, or spectacle—and tailor your compositions accordingly.
- Ethical Photography Practices
Respect for wildlife and habitat ensures future generations can enjoy the same thrills:
- Maintain Distance: Use telephoto reach; never approach or harass animals for a better shot.
- No Luring: Avoid baiting with food—this alters natural behavior and can harm animals.
- Silent Operation: Switch off mechanical sounds or turn to electronic shutter modes where available.
- Stay in Approved Zones: Stick to jungle roads and trails; off-road driving damages vegetation and disturbs ground-dwelling species.
SEO Keyword: ethical safari photography
- Post-Processing Workflow
Raw captures often need refinement. A structured editing process preserves image integrity:
- Culling & Selection: Remove out-of-focus, poorly exposed, or duplicate frames—focus on 10–20% of shots that best tell your story.
- Basic Adjustments: In Lightroom or Capture One, first correct white balance, exposure, contrast, and clarity.
- Noise Reduction & Sharpening: Apply selectively—reduce noise in shadow areas, sharpen only the subject’s eyes or fur edges.
- Color Grading: Enhance natural hues—boost warm tones for golden hours, deepen greens for lush grasslands.
- Cropping & Straightening: Refine composition; straighten horizons and remove distracting elements at edges.
- Spot Removal: Use healing brushes sparingly to eliminate sensor dust or stray branches—but keep natural context.
- Export Settings: For web, export JPEGs at sRGB, 1,200 px on the long edge; for print, output at 300 dpi in ProPhoto RGB.
Tool Tip: Create presets for common scenarios (e.g., dusk, midday, dense foliage) to speed up batch editing.
- Sharing, Attribution & Protection
Once edited, showcase your work responsibly:
- Watermarking: A subtle signature deters unauthorized use without detracting from the image.
- Metadata Embedding: Include your name, copyright, and contact info in the EXIF/IPTC fields.
- Platform Choices: Share on wildlife photography forums (e.g., BirdersEye, 500px) and social media with curated captions.
- Avoid Over-Tagging Locations: Geotag loosely (e.g., “Jhalana Forest Area”) to prevent poaching risks.
- Continuing Your Learning Journey
Photography is a craft honed over years:
- Participate in Workshops: Join expert-led tours where seasoned photographers critique your shots on the spot.
- Join Online Communities: Platforms like Flickr’s “Wildlife Photo” group offer peer feedback and inspiration.
- Study Masters: Analyze award-winning images from Wildlife Photographer of the Year—note composition, light, and storytelling.
- Practice Locally: Even urban parks or zoos can teach motion tracking, focus control, and low-light techniques before your next safari.
Conclusion
From meticulously planned gear setups to the final stroke of post-processing, mastering safari photography demands both technical skill and deep respect for the wild. By embracing these guidelines—ethical field conduct, creative storytelling, and refined editing—you’ll not only capture arresting images but also contribute positively to wildlife conservation. So pack your monopod, charge those batteries, and get ready to frame your next unforgettable moment under Rajasthan’s golden sun.
Disclaimer
This Safari Photography Masterclass is based on techniques, gear recommendations, and best practices current as of May 2025. Camera models, software features, and wildlife regulations may evolve—please verify the latest information and follow local wildlife guidelines before your next safari. The author and publisher assume no liability for equipment choices or outcomes resulting from the application of these suggestions.
Disclaimer All images used in this blog are either sourced from public domain or credited to their respective owners. If you are the copyright holder of any image and wish to request its removal or proper attribution, please contact us at [email protected]